Not the most awe inspiring post – I know. BUT, there’s always something to learn (or re-learn). I’ve worked as a mechanic before, used to do most all my own maintenance on my vehicles, but eventually graduate school took all my time and I focused on the books instead of what I could do with my hands.
This was a good refresher.
When we bought the van, the seller (a great fellow) made sure to tell us that the drivers rear caliper had its bleed screw sheared off. This means you cannot bleed that caliper. Not a big deal at that point in time – brakes were a tad squishy, so it did need to be taken care of sooner rather than later.
**** BE ADVISED ****
T1N Sprinters have several different calipers and brake pad types. I was lucky enough to stumble upon Europarts-SD – an AMAZING site with a ton of information and great prices on parts (NO I am not paid, nor have anything to do with these guys – but the info was well worth buying from them).
HERE you can find a chart of different calipers on the T1Ns. Visual inspection was enough to make a determination for us, but make sure you match your brake pads to caliper type. Our van had Bosch front and ATE rear calipers.
Our goal was to do all pads, all rotors, the drivers rear caliper, and front shocks. We didn’t want to do rear shocks till we had some idea of how the build would go, and how much it would weigh.
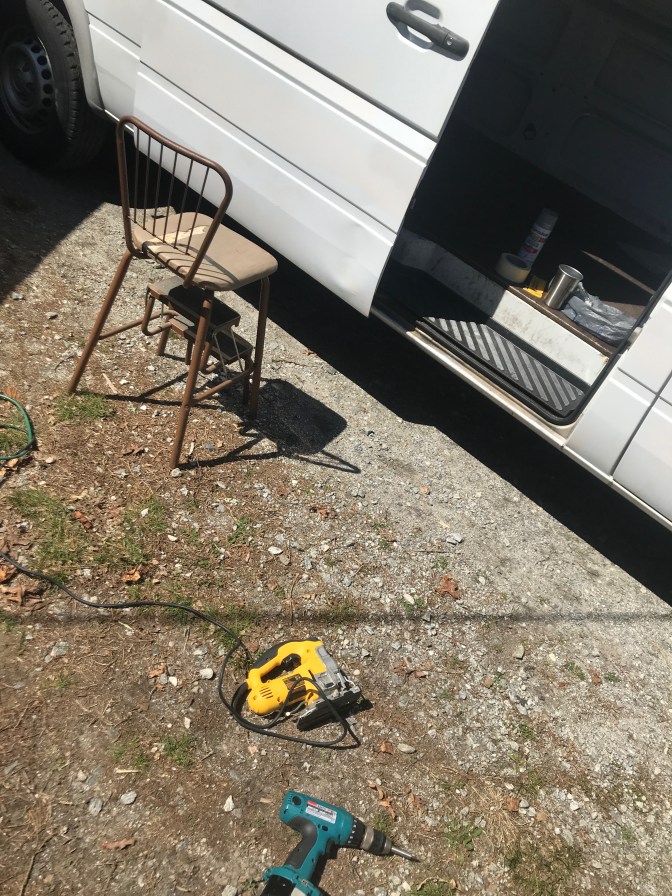
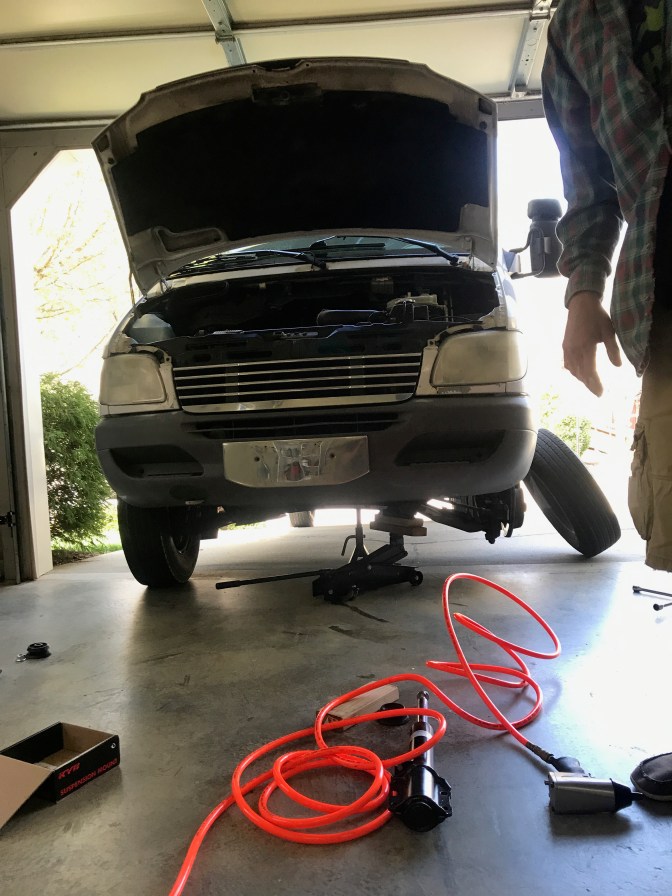
Parts in hand, we began the teardown.
Not going to explain how to do every bit of this job (feel free to contact me with specific questions). That said, the first problem we ran into was the rotor fixing bolt (a torx bolt that holds the rotor to the spindle assembly) refused to come off, even after destroying two bits on an air gun through a compressor. These bolts should only be hand tight, but our van has some rust (from Northern Virginia) so I suppose it was going to be stubborn. First task, already held up.
THANK YOU GOOGLE! Found a Youtube video with a solution. Ball peen hammer, ball side on the bolt head, HIT IT HARD!


POOF! Off it came by hand.
Most everything else went smoothly: remove wheel, remove caliper, compress pistons (make sure the reservoir is OPEN under the hood), anti-squeal on the back of pads, pads into caliper, pull rotor, replace rotor, bolt caliper back in, wheel on.


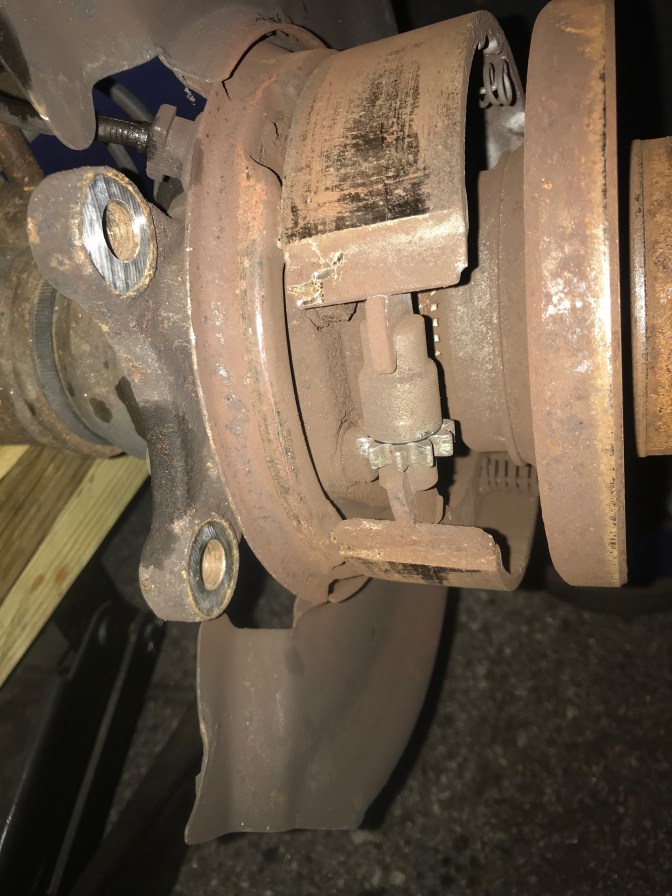
The back presented a different problem. Our van had no parking brake cable. This basically meant that the parking brake shoes that press out into the inside of the back of the rear calipers was rusted all to hell and we had to fight to find the adjustment “screw” which is basically a big star that spins on threads inside. You use a wheel stud hole to access it with a flathead. Spin direction is relative to where your head rests while doing this, but you can see threads moving through the hole to help get you moving in the right direction.
After having pushed fluid back into the reservoir with each successive pad installation, we really only needed to bleed the new caliper that was put on. Bleeding was accomplished with a small length of rubber hose attached to the nipple and set into a plastic coke bottle with a little fluid in it (keeps any bubbles from getting into the line via suction). Brakes feel GREAT now.
SHOCKS:
I decided to just use OE replacement Bilsteins. We’ll use adjustable Koni shocks in the back, but there is a chance we’ll replace the fronts next year as well. The Bilsteins were inexpensive and made a HUGE improvement to cab roll and small bump compliance.


Nothing super complicated here. I bought KYB mounts (remember you need TWO SETS, as there are TWO per shock). One bolt in the cab under the mat, four bolts behind the brake caliper.


Now she stops, she rides better, and she is SAFE.
Please let me know if you have any questions about this process. And yes, I know – I still haven’t put the parking brake cable in…..